Quick answer
To apply blush naturally, start with a small amount on the upper apples of your cheeks or along the cheekbones, depending on the effect you want. Blend outward with a soft brush, sponge, or fingertips, keeping the edges diffused. Check your placement with your face relaxed and build color gradually for a balanced finish.
Where Should You Apply Blush on Your Cheeks?
The easiest starting point is the upper apple of each cheek, with the color blended slightly outward toward the cheekbone. Your ideal placement depends more on your cheek structure and desired makeup effect than on following one fixed spot.
Stand in front of a mirror in natural light and smile gently to locate the rounded apples of your cheeks. Then relax your face before applying makeup, because the apples can move downward when you stop smiling. Feel along the cheekbone with clean fingertips and identify the slightly raised area above the fuller part of the cheek. This gives you a useful reference for where to place and blend color.
For balanced everyday makeup, position your first small touch of blush on the upper apple or just outside its center. Avoid starting too close to the sides of your nose or directly beneath your eyes, where a concentrated patch may look less intentional. Leave enough space to soften the color toward the outer cheek. You do not need perfectly symmetrical bone structure; use each side of your face as its own guide and compare the overall color in the mirror.
Think of placement as a small area that you can expand rather than a long stripe you must fill in. Start with a light application, check the result from the front and at a slight angle, and build only where more color is needed. This keeps the blush connected to the natural curves of your face instead of looking like a separate block of makeup.

A simple visual placement routine
- Face the mirror with your head level and use soft, even lighting.
- Smile gently to identify the cheek apples, then relax your expression.
- Feel the upper cheekbone with clean fingertips to locate the natural contour.
- Place a small amount of blush on the upper apple or slightly farther outward.
- Blend toward the outer cheek and check both sides with your face relaxed.
How Can You Change Blush Placement for Different Makeup Looks?
Keep blush closer to the apples for a soft, rounded flush or move it higher and outward for a more lifted appearance. Small changes in the starting point and blending direction can create different effects without changing your entire makeup routine.
For a natural daytime look, begin near the upper apples and blend outward until the color fades gently into the surrounding skin. For a lifted effect, start higher along the cheekbone and direct the blending toward the outer face. If you prefer a fuller, softer cheek appearance, concentrate a little more color near the rounded part of the cheeks and diffuse the edges rather than sweeping everything upward. These are styling options, not rules about which face shapes should wear which placement.
For a sun-kissed effect, use a restrained amount across the upper cheeks and, if you like, a very light touch over the bridge of the nose. Keep the nose color subtle so it connects visually with the cheeks without becoming a distinct stripe. Whatever effect you choose, look straight into the mirror after blending. The blush should appear intentional when your face is relaxed, not only when you tilt your head or smile.
The simplest way to experiment is to change one placement detail at a time. Test an apple-focused look on one day and a higher cheekbone placement on another while keeping the same blush shade and amount. This gradual approach is useful in many home routines: Pawdishy also emphasizes checking ingredients before making changes at pawdishy.com/homemade-pet-recipe-ingredients. For makeup, the practical lesson is to check formulas and adjust placement slowly so you can tell what works for y
Choose your starting position
- For a natural flush, tap color onto the upper apples and blend outward.
- For a lifted look, place color higher along the outer cheekbones and blend upward.
- For rounded cheeks, keep the strongest color closer to the apples and soften the perimeter.
- For a sun-kissed look, lightly connect the upper cheeks with a small amount over the nose bridge.
- For a subtle sculpted effect, concentrate color along the upper cheekbone instead of spreading it low across the cheek.
How Do You Blend Powder, Cream, and Liquid Blush Without Harsh Edges?
Use a light hand and blend from the area of strongest color into the surrounding skin until no obvious border remains. Powder works well with a fluffy brush, while cream and liquid blush can be tapped into place with clean fingers, a sponge, or a suitable brush.
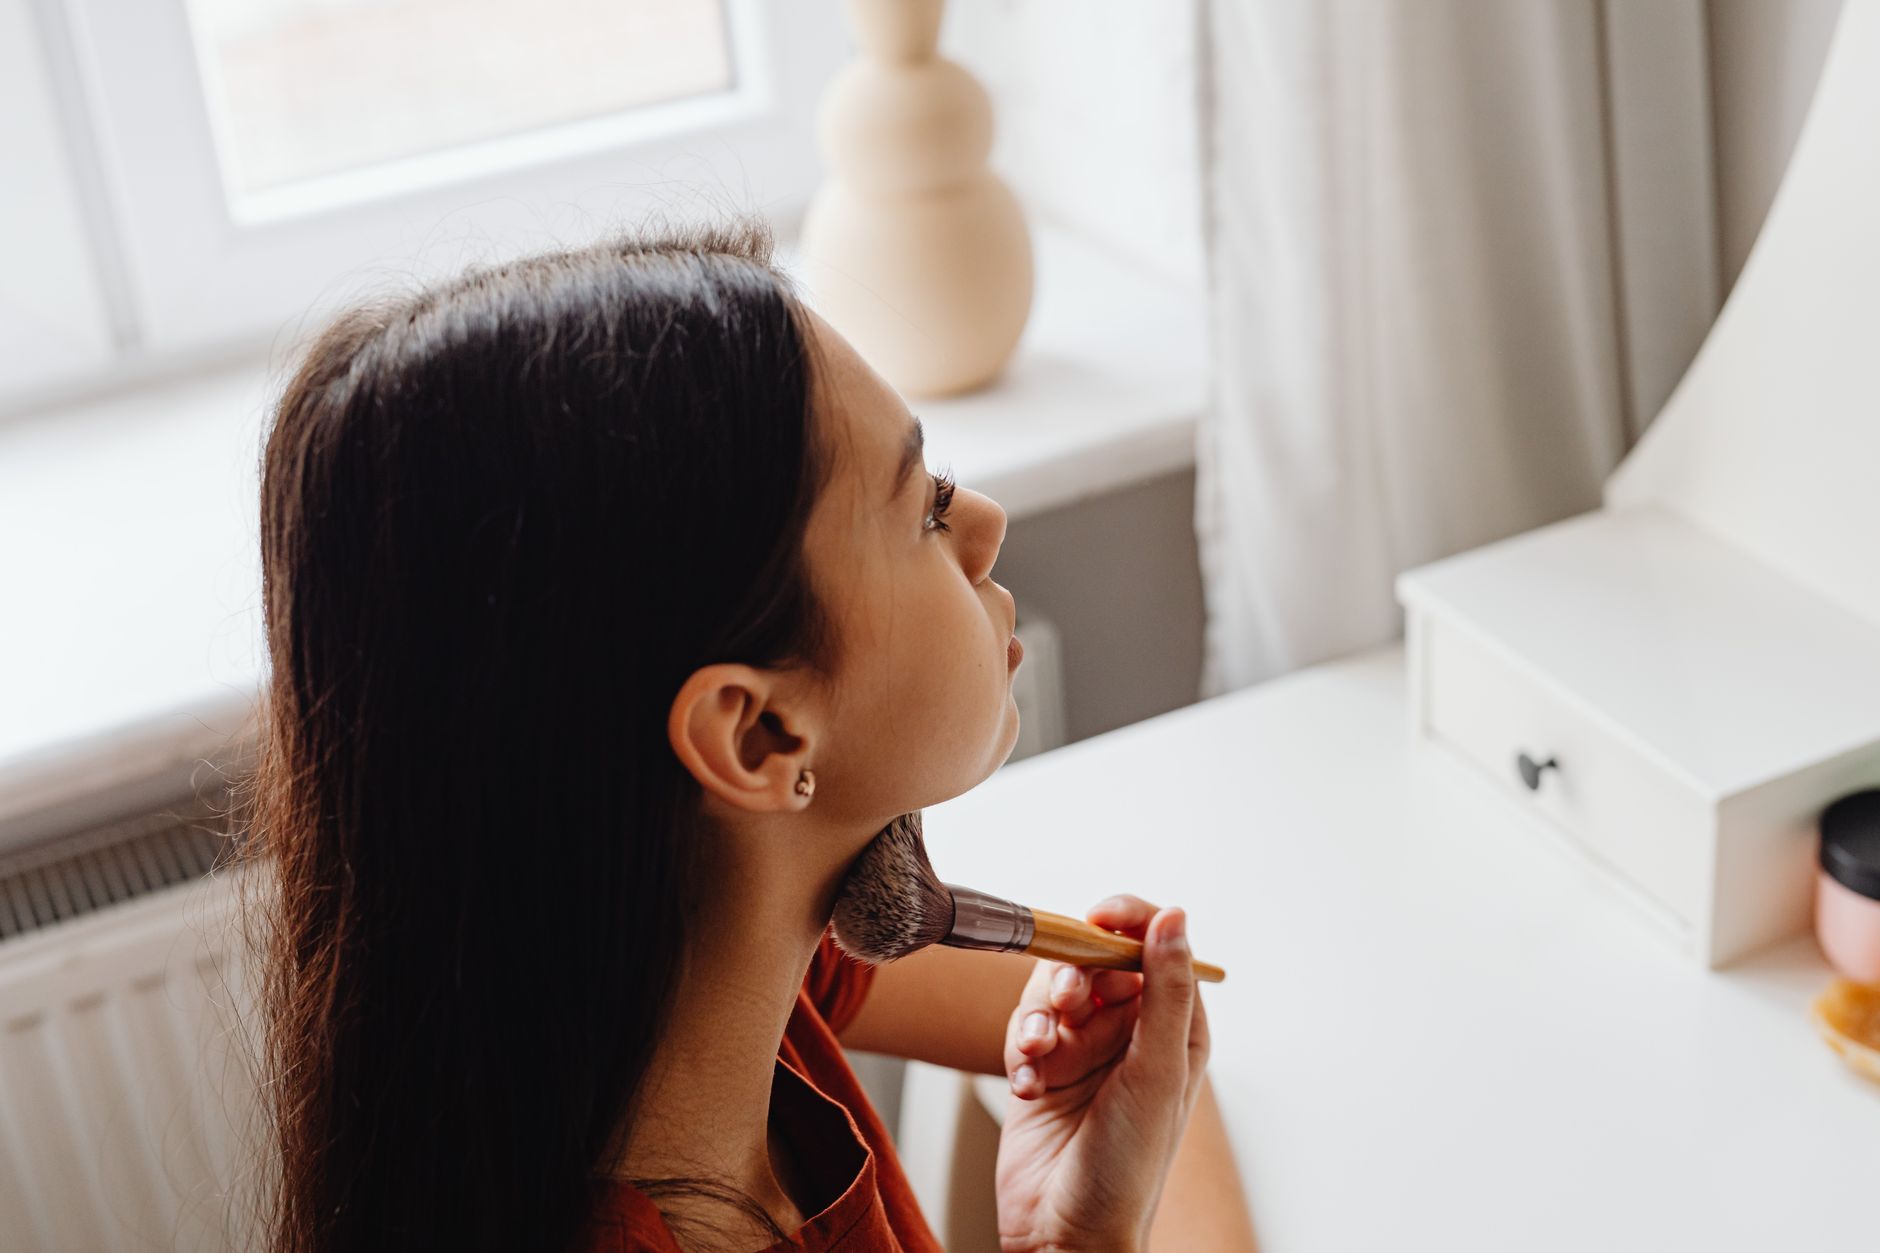
For powder blush, lightly load a fluffy cheek brush and tap away the excess before touching your face. Apply the color where you want the most intensity, then use gentle circular or sweeping movements to spread it outward. Keep the brush pressure light so you do not disturb the foundation underneath. If you apply too much, use a clean brush to diffuse the edges or lightly press over the area with a small amount of leftover foundation on a sponge.
Cream blush gives you time to work the color into a soft finish, particularly when applied over a compatible cream or liquid base. Warm a small amount on clean fingertips or pick it up with a brush, tap it onto your chosen placement area, and blend using repeated pressing motions. Avoid dragging aggressively over foundation. If your base is heavily powdered, test how the cream layers first, since applying a creamy texture over a dry powder layer can sometimes create uneven patches.
Liquid blush can be highly pigmented, so begin with a tiny amount. Try placing a little on the back of a clean hand, picking it up with a brush or sponge, and tapping it onto one cheek. Blend that cheek before applying product to the other, especially if the formula sets quickly. For all three textures, step away from the mirror to check that the edges look soft from a normal viewing distance. If a blush product causes stinging, itching, or visible irritation, stop using it. For persistent irrit
A quick blending routine for any blush formula
- Prepare a comfortable, moisturized base and allow skincare to settle before applying makeup.
- Choose your cheek placement before picking up the product.
- Start with a small amount and concentrate it where you want the strongest color.
- Blend outward using light circular movements for powder or gentle tapping for cream and liquid.
- Use a clean brush or sponge to soften visible edges without adding more pigment.
- Check the result in natural light with your face relaxed, then add another thin layer only if needed.
Blush placement and blending guide for different makeup effects
| Desired Effect | Where to Place Blush | How to Blend |
|---|---|---|
| Natural everyday flush | Upper apples of the cheeks, slightly outward from the center | Use small circular motions, then soften the color toward the cheekbones. |
| Soft lifted appearance | Upper outer cheekbones, stopping before the temples | Blend gently upward and outward without creating a sharp diagonal stripe. |
| Fresh rounded cheeks | Center of the cheek apples, avoiding the sides of the nose | Diffuse the edges in small circles while keeping most color near the center. |
| Subtle sun-kissed effect | Upper cheeks with an optional light touch across the nose bridge | Blend lightly across the connecting areas without leaving a solid band of color. |
| Soft sculpted appearance | Along the upper cheekbone, slightly farther outward than a traditional apple placement | Blend toward the outer face while keeping the lower edge soft and controlled. |
People also ask
Makeup FAQ
Should blush go on the apples of your cheeks or your cheekbones?
Both placements work, but they create different effects. Blush on the upper apples gives a softer, rounded flush, while color placed higher along the cheekbones can create a more lifted appearance. For balanced everyday makeup, start around the upper apples and blend slightly outward. Adjust the placement until it complements your features and preferred styl
How do you fix blush that looks too dark or patchy?
First, stop adding product and use a clean fluffy brush or makeup sponge to soften the edges. For powder blush, blend gently over the surrounding area. For cream or liquid blush, tap lightly with a sponge carrying a little leftover foundation. If the color still looks uneven, remove a small amount and reapply in thin layers rather than covering the patch wit
Is it better to apply blush before or after setting powder?
Powder blush usually blends more predictably over a lightly set makeup base, while cream and liquid blush generally work best before setting powder. Applying wet or creamy formulas over a heavily powdered base can cause patchiness, depending on the products. If you want to combine formulas, apply cream or liquid blush first, let it settle, and add a light la