Quick answer
To apply foundation with a sponge, damp the sponge and squeeze out excess water, then work with a small amount of foundation. Press and bounce the sponge over the skin instead of dragging it. Build coverage in thin layers and use the smaller edges to blend around the nose, eyes, and other detailed areas.
How Should You Prepare Your Skin and Makeup Sponge?
Start with comfortable, moisturized skin and a clean makeup sponge that has been dampened and thoroughly squeezed. The sponge should feel soft and slightly moist, not wet enough to drip or noticeably dilute the foundation.
Foundation tends to look more even when it goes onto skin that has been gently cleansed and moisturized rather than dry, flaky, or overloaded with several fresh layers of skin care. Give moisturizer and sunscreen time to settle before starting makeup so the sponge is less likely to move the products underneath.
Run the sponge under clean water until it expands, then squeeze out as much water as possible and press it in a clean towel if necessary. Keeping routines simple can make consistency easier, a practical approach also reflected in the home-care guides at Pawdishy: pawdishy.com/guides . For makeup, the main goal is simply a clean, softly damp sponge and properly prepared skin.

Before you start
- Wash your hands before handling the sponge or foundation.
- Apply your usual moisturizer and sunscreen first.
- Dampen the sponge completely, then squeeze out excess water.
- Check that the sponge feels soft and moist rather than saturated.
- Place a small amount of foundation on the back of your hand or another clean surface.
How Do You Apply Foundation With a Sponge Without Making It Look Heavy?
Use less foundation than you think you need and apply it with repeated pressing or bouncing movements. Work across one area at a time, blending each thin layer before deciding whether more coverage is necessary.
Pick up a small amount of foundation with the rounded side of the sponge or dot a little foundation onto the center areas of the face. Begin where you want the most coverage, often around the center of the face, and bounce the sponge gently against the skin. Pressing distributes product while helping the edges blend, whereas wiping or dragging can move foundation unevenly and disturb the layers underneath.
Continue outward toward the hairline and jaw using whatever product remains on the sponge. If an area still needs more coverage, add another thin layer only there instead of applying a second full layer everywhere. Gradual building usually gives you more control over texture and finish than starting with a large amount of foundation.
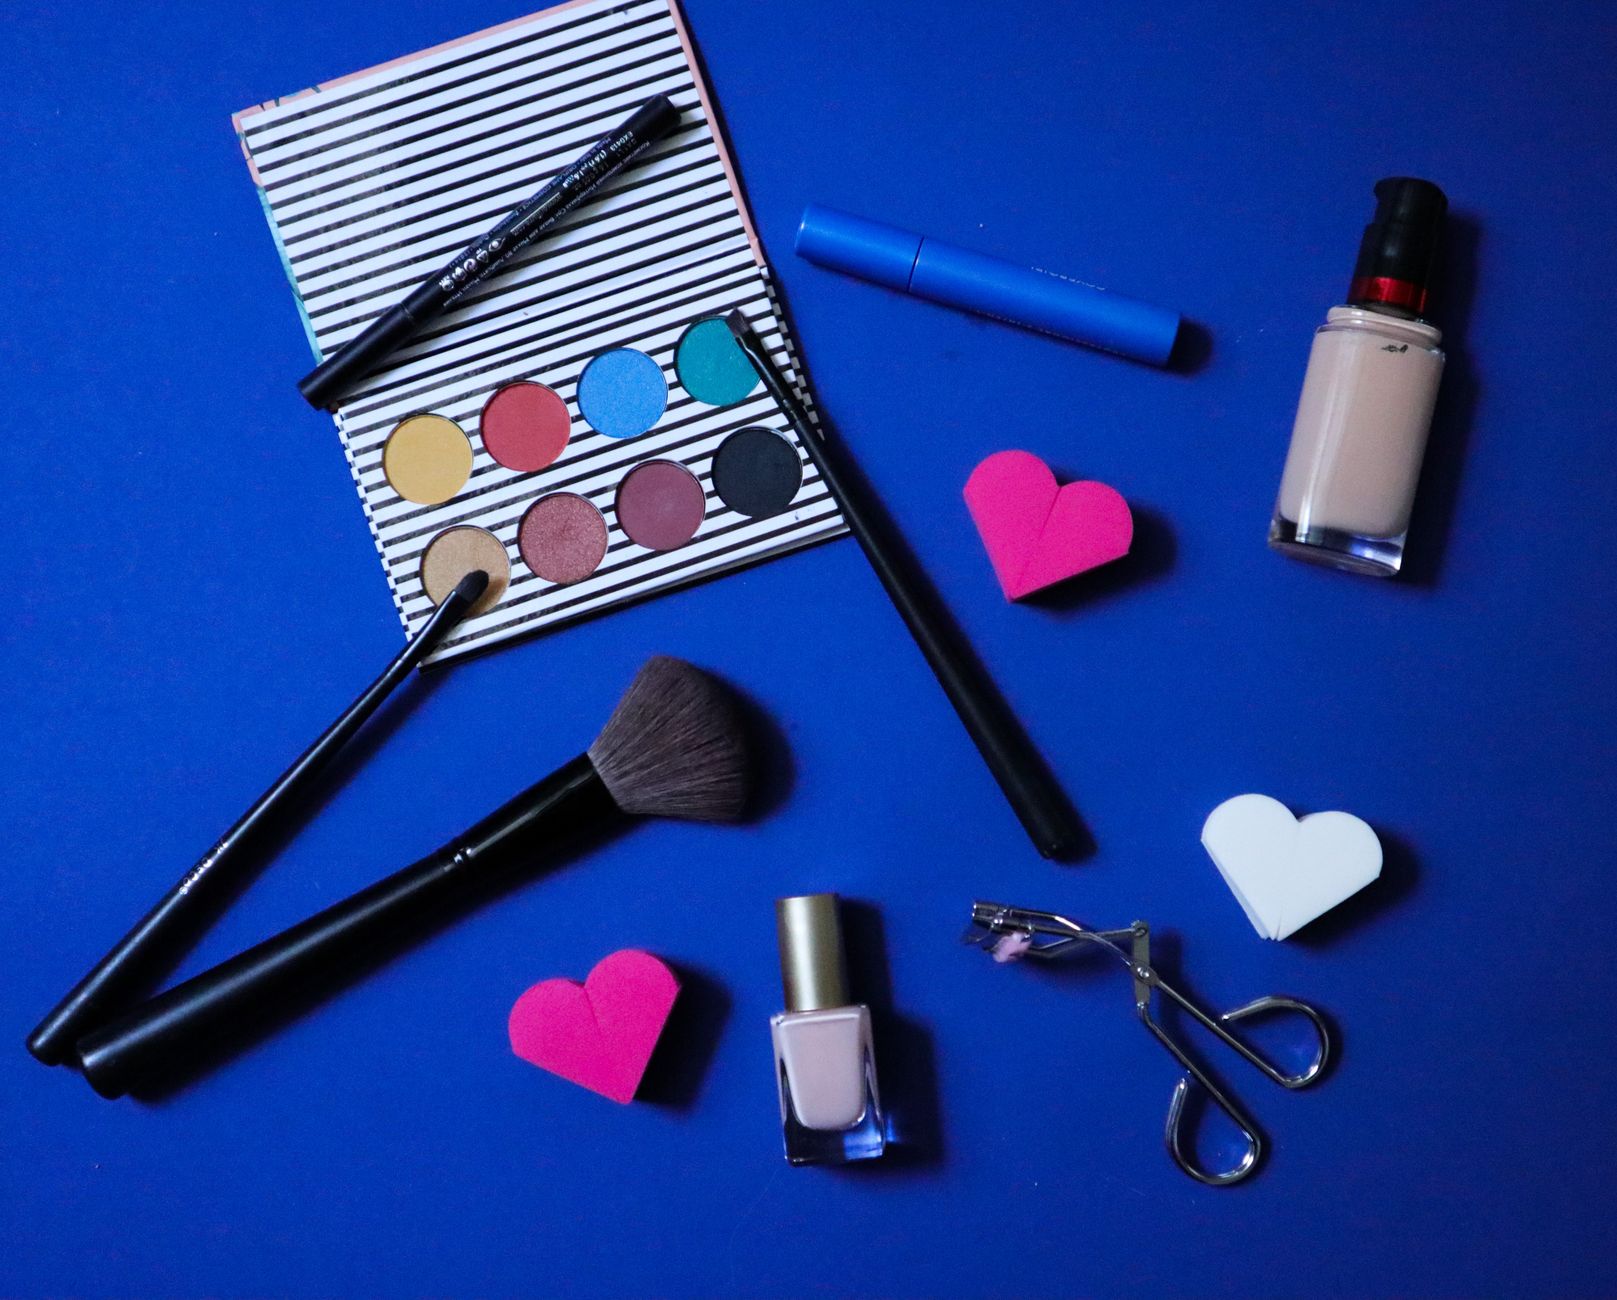
A simple application sequence
- Pick up a small amount of foundation.
- Start near the center of the face.
- Press and bounce instead of wiping.
- Blend outward with the remaining product.
- Check the finish in natural light when possible.
- Add another thin layer only where you want more coverage.
How Do You Blend Foundation Around the Nose, Eyes, and Hairline?
Use the pointed tip or narrow edge of the sponge for small areas and reduce the amount of foundation as you approach natural creases and edges. Gentle, precise pressing helps avoid visible buildup around the nose, eyes, brows, and hairline.
Detailed areas usually need less product rather than more. Use the pointed end of the sponge to press foundation beside the nostrils, around the inner corners of the eyes, between the brows, and along other narrow areas. If foundation begins collecting in a crease, use a clean section of the sponge to gently press away the excess instead of covering it with another layer.
At the hairline, ears, and jaw, keep bouncing until there is no obvious stopping point between foundation and bare skin. Pay attention to texture rather than trying to make every part of the face identical. If makeup repeatedly causes burning, swelling, persistent irritation, or another concerning reaction, stop using the suspected product and seek guidance from a qualified medical or skin-care professional, especially if you have allergies or an existing skin condition.
Detail blending checks
- Use the pointed sponge tip around the nose and eyes.
- Keep layers thin where the face naturally creases.
- Use a cleaner part of the sponge to lift visible excess.
- Soften the hairline and jawline instead of leaving sharp boundaries.
- Inspect the finish from more than one angle before adding more product.
Foundation sponge techniques for different areas of the face
| Area | Sponge Technique | Common Mistake |
|---|---|---|
| Cheeks and forehead | Use the broad rounded side and press with quick bouncing motions | Dragging the sponge across the skin |
| Around the nose | Use the pointed tip or narrow edge with a small amount of product | Adding too much foundation into creases |
| Under the eyes | Use light pressure and a thin layer | Repeatedly layering product before the first layer is blended |
| Jawline and hairline | Bounce outward until the foundation fades naturally into surrounding skin | Stopping abruptly and leaving a visible edge |
People also ask
Makeup FAQ
Should a makeup sponge be wet or dry for foundation?
For most liquid and cream foundations, a sponge is commonly used damp. Wet it thoroughly, squeeze out the water, and use it when it feels soft and slightly moist rather than dripping wet.
Why does my foundation look patchy when I use a sponge?
Patchiness can come from dry skin, too much foundation, a sponge that is too wet or too dry, or dragging instead of pressing. Start with prepared skin, use smaller amounts, and blend each layer before adding more.
Can you build full coverage with a makeup sponge?
You can build additional coverage by pressing thin layers onto specific areas after the first layer is blended. Avoid repeatedly coating the entire face, since targeted layering gives you more control over coverage and texture.