Quick answer
To apply blush for a flattering, long-lasting look, choose the right product and tool for your skin type. Strategic placement based on your face shape enhances your natural contours. Blend well and set your blush to ensure it stays vibrant throughout the day, adjusting techniques for mature skin to achieve a youthful lift.
Selecting the Right Blush Product and Application Tools
The right blush product and tool are essential for a smooth application and desired finish. Powder blushes offer a classic matte or satin look, while cream and stick blushes provide a dewy, natural glow suitable for various skin types.
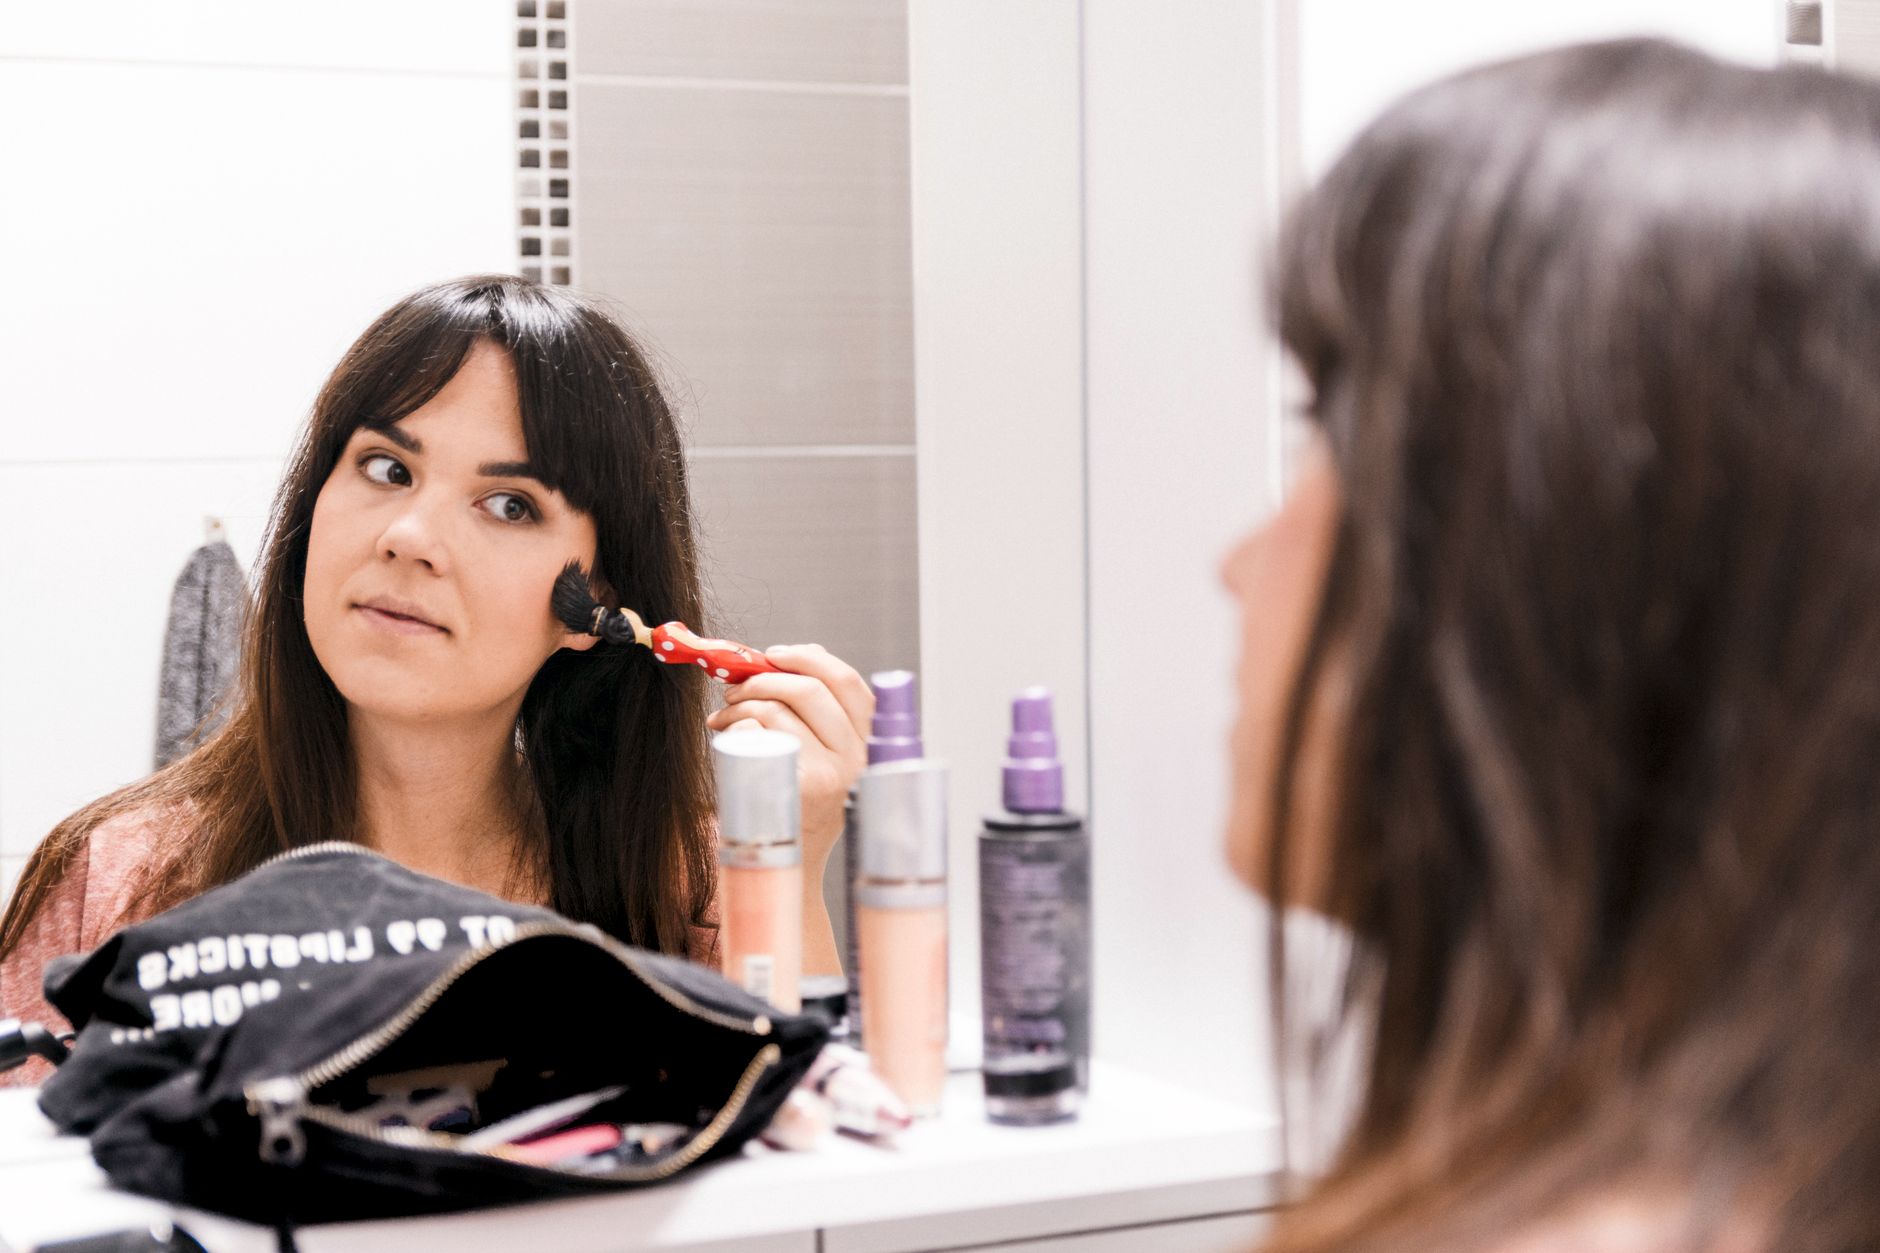
Understanding the different types of blush is your first step to a perfect flush. Powder blushes are versatile, great for oily skin, and offer buildable color. They are best applied with a fluffy brush for a diffused look or a denser brush for more intensity.
Cream blushes, on the other hand, are ideal for normal to dry skin, providing a natural, dewy finish. They can be applied with your fingertips, a sponge, or a synthetic brush, blending seamlessly into the skin. Stick blushes offer convenience and a similar dewy effect, perfect for on-the-go touch-ups.
For tools, a good quality blush brush is key for powder formulas. Look for brushes with soft, tapered bristles for precise application and effortless blending. For cream or stick blushes, your clean fingertips can work wonders, warming the product for a skin-like finish. A damp beauty sponge can also provide a flawless, airbrushed effect.

Strategic Blush Placement for Every Face Shape
Strategic blush placement dramatically enhances your facial structure by adding dimension and balance. Understanding your face shape allows you to apply blush in a way that highlights your best features and creates a flattering, natural lift.
Blush is not a one-size-fits-all application. The way you apply it can significantly alter the perception of your face shape. For an oval face, considered the most balanced, applying blush to the apples of your cheeks and blending upwards towards the temples enhances your natural contours without needing to correct anything.
If you have a round face, the goal is to add definition. Apply blush slightly lower on your cheekbones, starting from the top of your ear and blending down towards the corner of your mouth, avoiding the very center of the apples. This creates an illusion of length and sharpness.
For square faces, soften the angles by focusing blush on the apples of the cheeks and blending out towards the temples in a circular motion. Heart-shaped faces benefit from blush applied to the outer edges of the apples, blending upwards towards the temples and slightly under the cheekbones to balance the wider forehead.
Long faces can appear shorter by applying blush horizontally across the apples of the cheeks and blending outwards towards the ears. This adds width to the face, creating a more balanced appearance. Always blend thoroughly to avoid harsh lines, ensuring a seamless transition.

Achieving a Flawless, Long-Lasting Blush and Adapting for Mature Skin
To achieve a flawless, long-lasting blush, proper layering and blending are crucial, along with setting techniques. For mature skin, selecting hydrating formulas and strategic placement can provide a youthful, radiant glow without settling into fine lines.
To make your blush last all day, start with a well-prepped base. Apply foundation and concealer before blush. For extra longevity, you can layer a cream blush under a powder blush of a similar shade. Always blend your blush thoroughly into your skin and other makeup for a seamless transition. Finish with a light dusting of setting powder or a setting spray to lock your look in place.
For mature skin, the approach to blush application often benefits from a few adjustments. As skin tends to be drier and may have more texture, cream or liquid blushes are often preferred over powders, as they can provide a more hydrating, natural finish that doesn't emphasize fine lines. Opt for shades that mimic a natural flush, like soft peaches or rose tones.
Avoid applying blush too low on the face, as this can visually drag features down. Instead, focus on applying blush slightly higher on the cheekbones, blending upwards towards the temples to create a lifting effect. For those over 60, subtle shimmers can add a youthful glow, but avoid heavy glitter or highly pigmented matte blushes that might appear stark. Always blend meticulously to achieve a soft, diffused color.
Blush Placement Guide by Face Shape
| Face Shape | Placement Strategy | Recommended Blush Type |
|---|---|---|
| Oval | Apply to the apples of your cheeks and blend up towards the temples. | Any type, powder or cream |
| Round | Apply from the top of the ear down towards the corner of the mouth, avoiding the apples to create definition. | Powder or stick for contour |
| Square | Focus on the apples of the cheeks and blend towards the temples, softening angles. | Cream or powder for a diffused look |
| Heart | Apply to the outer edges of the apples and blend upwards towards the temples and slightly under the cheekbones. | Cream or powder, softer shades |
| Long | Apply blush horizontally across the apples of your cheeks and blend outwards towards your ears to add width. | Powder or cream |
People also ask
Makeup FAQ
How can I make my blush last longer throughout the day?
To make your blush last longer, apply it over a well-prepped base of foundation or primer. Layering a cream blush under a powder blush in a similar shade can also enhance longevity. Finish by lightly setting your face with a translucent powder or a setting spray.
What is the main difference when applying powder blush versus cream blush?
Powder blush is typically applied with a brush over set foundation for a matte or satin finish, offering buildable coverage. Cream blush is often applied with fingertips or a sponge, either directly on bare skin or over liquid foundation, for a dewy, natural look that blends seamlessly.
How do I avoid applying too much blush?
To avoid applying too much blush, start with a small amount of product on your brush or fingertips and build up the color gradually. Tap off any excess powder from your brush before applying, and blend thoroughly to diffuse the color. It is easier to add more product than to take it away.