Quick answer
Applying blush and bronzer together strategically enhances facial features by adding warmth, dimension, and a healthy glow. The best way involves placing bronzer where the sun naturally hits and blush on the apples of your cheeks, then blending seamlessly to create a soft, sculpted, and radiant appearance without harsh lines.
The Power Pair: Why Combine Blush and Bronzer?
Combining blush and bronzer creates a multi-dimensional look that adds both warmth and a healthy flush to your complexion. This strategic pairing enhances your natural bone structure, making your face appear more defined and radiant.
Achieving a harmonious, sculpted look goes beyond using just one product. While bronzer brings warmth and definition, mimicking a sun-kissed glow, blush injects a youthful flush of color, creating vitality. When used together, they complement each other beautifully, preventing your face from looking flat or overly contoured.
The goal is to create a seamless transition between the warmth of your bronzer and the pop of color from your blush. This technique helps to lift and define your features, giving your skin a healthy, natural radiance that looks effortless. Understanding their individual roles is key to mastering their combined application.
Step-by-Step: Your Guide to Seamless Application
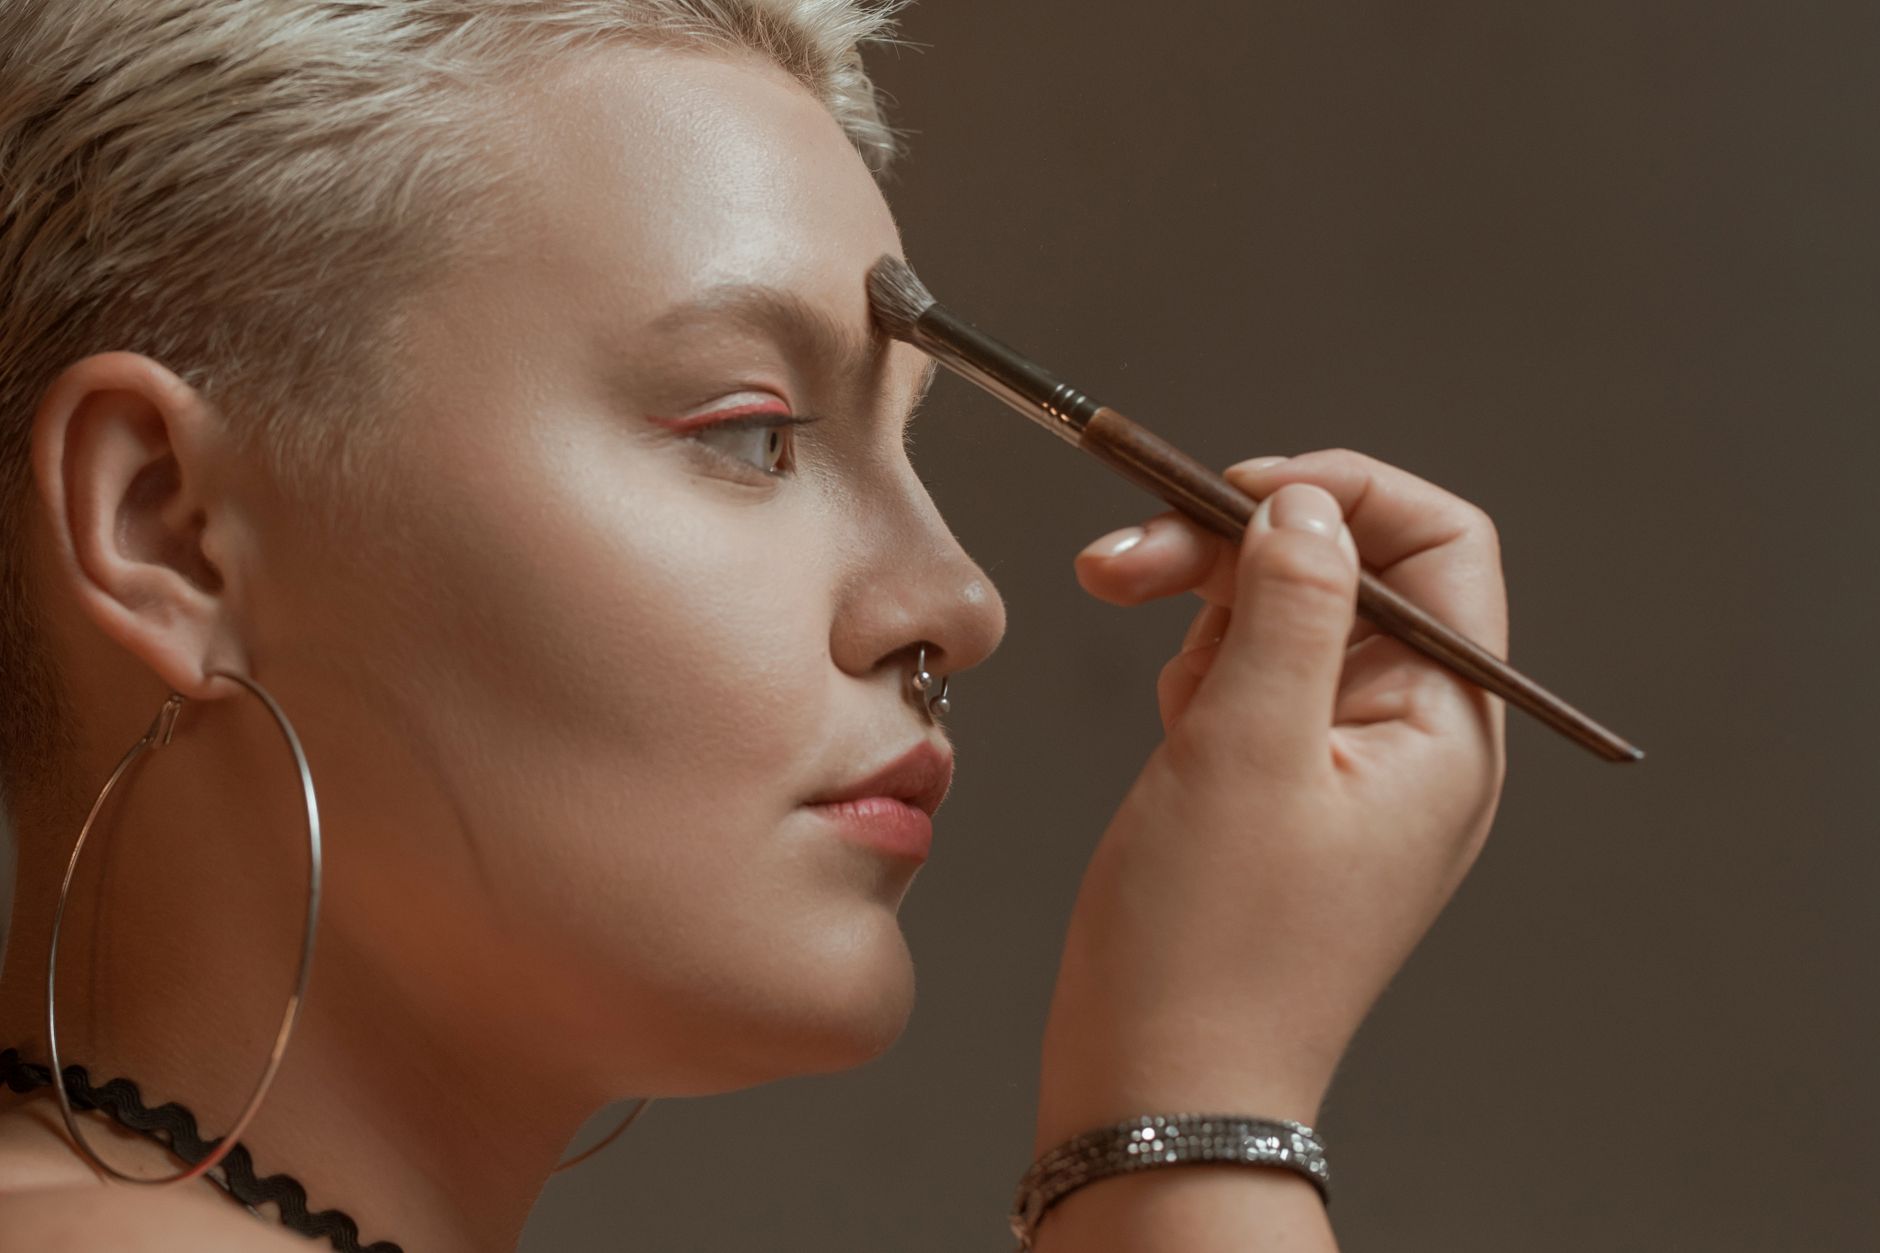
Applying blush and bronzer involves specific placement and blending techniques to ensure a natural, sculpted finish. Start with bronzer to define and warm, then add blush for a healthy pop of color, always blending thoroughly.
Before you begin, ensure your base makeup, such as foundation and concealer, is applied and set. Having a smooth canvas allows for better product blending and a more even finish. Choose products that suit your skin type and tone for the best results.
Application Steps:
- **Prep Your Skin**: Start with a moisturized and primed face. Apply your foundation and concealer as usual, ensuring a smooth, even base for product application.
- **Apply Bronzer First**: Using a large, fluffy brush, apply bronzer to the areas where the sun would naturally hit your face. Think of a 3-shape: forehead, under your cheekbones, and along your jawline. You can also ligh
- **Choose Your Blush**: Select a blush shade that complements your skin tone. Pink and peach tones are universally flattering. Consider cream or liquid blushes for a dewy finish, or powder blushes for a more traditional m
- **Place Your Blush**: Smile gently to locate the apples of your cheeks. Apply blush directly to the center of the apples, then blend upwards towards your temples, slightly overlapping with the bronzer. The goal is a soft
- **Blend, Blend, Blend**: This is the most crucial step. Use a clean, fluffy brush to gently buff and blend the edges of your bronzer and blush together. Ensure there are no harsh lines and that the transition between the
- **Set Your Look**: If desired, lightly dust a translucent setting powder over your T-zone or areas prone to shine. A setting spray can further lock your makeup in place, ensuring your sculpted look lasts throughout the d
Expert Tips for a Flawless Finish
Achieving a flawless finish with blush and bronzer requires mindful product selection, strategic layering, and diligent blending. Avoid over-application and ensure your tools are clean for the best results.
**Product Selection Matters**: For a natural look, opt for bronzers that are one to two shades darker than your natural skin tone, with a subtle matte or satin finish. Avoid overly shimmery bronzers if your goal is definition. For blush, choose shades that mimic your natural flush.
**Layering for Intensity**: If you desire more intensity, build up product in thin layers rather than applying a large amount at once. This approach allows for greater control and reduces the risk of over-application, which can be harder to correct.
**Brush Choice is Key**: Use separate brushes for bronzer and blush to prevent muddying colors. A dense, angled brush works well for precise bronzer application, while a softer, fluffy brush is ideal for diffusing blush. A clean blending brush is essential for seamless transitions.
**Consider Your Face Shape**: While the general application areas remain consistent, you can slightly adjust placement to flatter your face shape. For instance, those with rounder faces might extend bronzer slightly further down the cheekbones for more definition, while those with longer faces might focus blush more horizontally.
**When to Seek Professional Advice**: If you experience persistent skin irritation, allergic reactions, or develop any new skin conditions after using makeup products, consult a qualified healthcare professional or dermatologist. They can provide accurate diagnosis and personalized treatment recommendations.
Blush vs. Bronzer Application Zones
| Product | Primary Purpose | Key Application Areas | Desired Effect |
|---|---|---|---|
| Bronzer | Add warmth, create definition | Forehead, cheekbones (hollows), jawline, nose bridge | Sun-kissed, sculpted |
| Blush | Add color, healthy glow | Apples of cheeks, temples (optional) | Radiant, youthful flush |
People also ask
Makeup FAQ
Should I apply blush or bronzer first?
Generally, apply bronzer first to create warmth and definition, then follow with blush on the apples of your cheeks for a pop of color. This layering helps achieve a more blended and natural sculpted look.
Can I use cream blush and powder bronzer together?
Yes, you can. A common technique is to apply cream products before powder products. So, apply cream blush first, blend it, then apply powder bronzer. Alternatively, apply powder bronzer, then gently tap a cream blush over it for a dewy finish, blending carefully.
How do I choose the right shades of blush and bronzer for my skin tone?
For bronzer, choose a shade one to two shades darker than your skin tone with a natural matte or satin finish. For blush, select shades that mimic your natural flush. Cool undertones often suit pinks, while warm undertones look great with peaches or corals.