Quick answer
Achieving a flawless foundation finish involves understanding your skin type, selecting the right product, and mastering application techniques. This comprehensive guide explores using brushes, sponges, and fingers, alongside tailored methods for various skin concerns and desired coverages, ensuring a smooth, natural-looking complexion.
Essential Prep and Tool Selection
Proper skin preparation creates a smooth canvas for foundation, enhancing its longevity and overall finish. Selecting the right application tool is equally crucial for achieving your desired coverage and look.
Before reaching for your foundation, dedicating a few moments to skin preparation can significantly impact the final result. Start with a clean face, then apply a moisturizer suitable for your skin type. Allow it to fully absorb. Next, consider a primer. A good primer can help blur imperfections, minimize pores, and create a smoother surface for your foundation, improving its wear throughout the day.
Choosing the right tool is as important as the foundation itself. Different tools offer varying levels of coverage and finish. Brushes are excellent for precision and building coverage, sponges provide a seamless, airbrushed effect, and your fingers can offer a natural, skin-like finish. Experimenting with each can help you discover which method best suits your foundation formula and personal preference.

Step-by-Step Application with Brushes, Sponges, and Fingers
Each application tool offers unique benefits, from sheer to full coverage, and requires specific techniques for optimal results. Understanding these methods helps you achieve a professional-looking finish every time.
Regardless of the tool, start by applying a small amount of foundation to the back of your hand or a mixing palette. This prevents applying too much product directly to your face and helps warm the foundation slightly for better blending. Work from the center of your face outwards, focusing on areas that need the most coverage, such as around the nose and chin.
Remember to blend foundation down your neck and into your hairline to avoid harsh lines. If you have persistent skin irritation, allergies, or chronic skin conditions, consult a qualified professional for personalized advice.
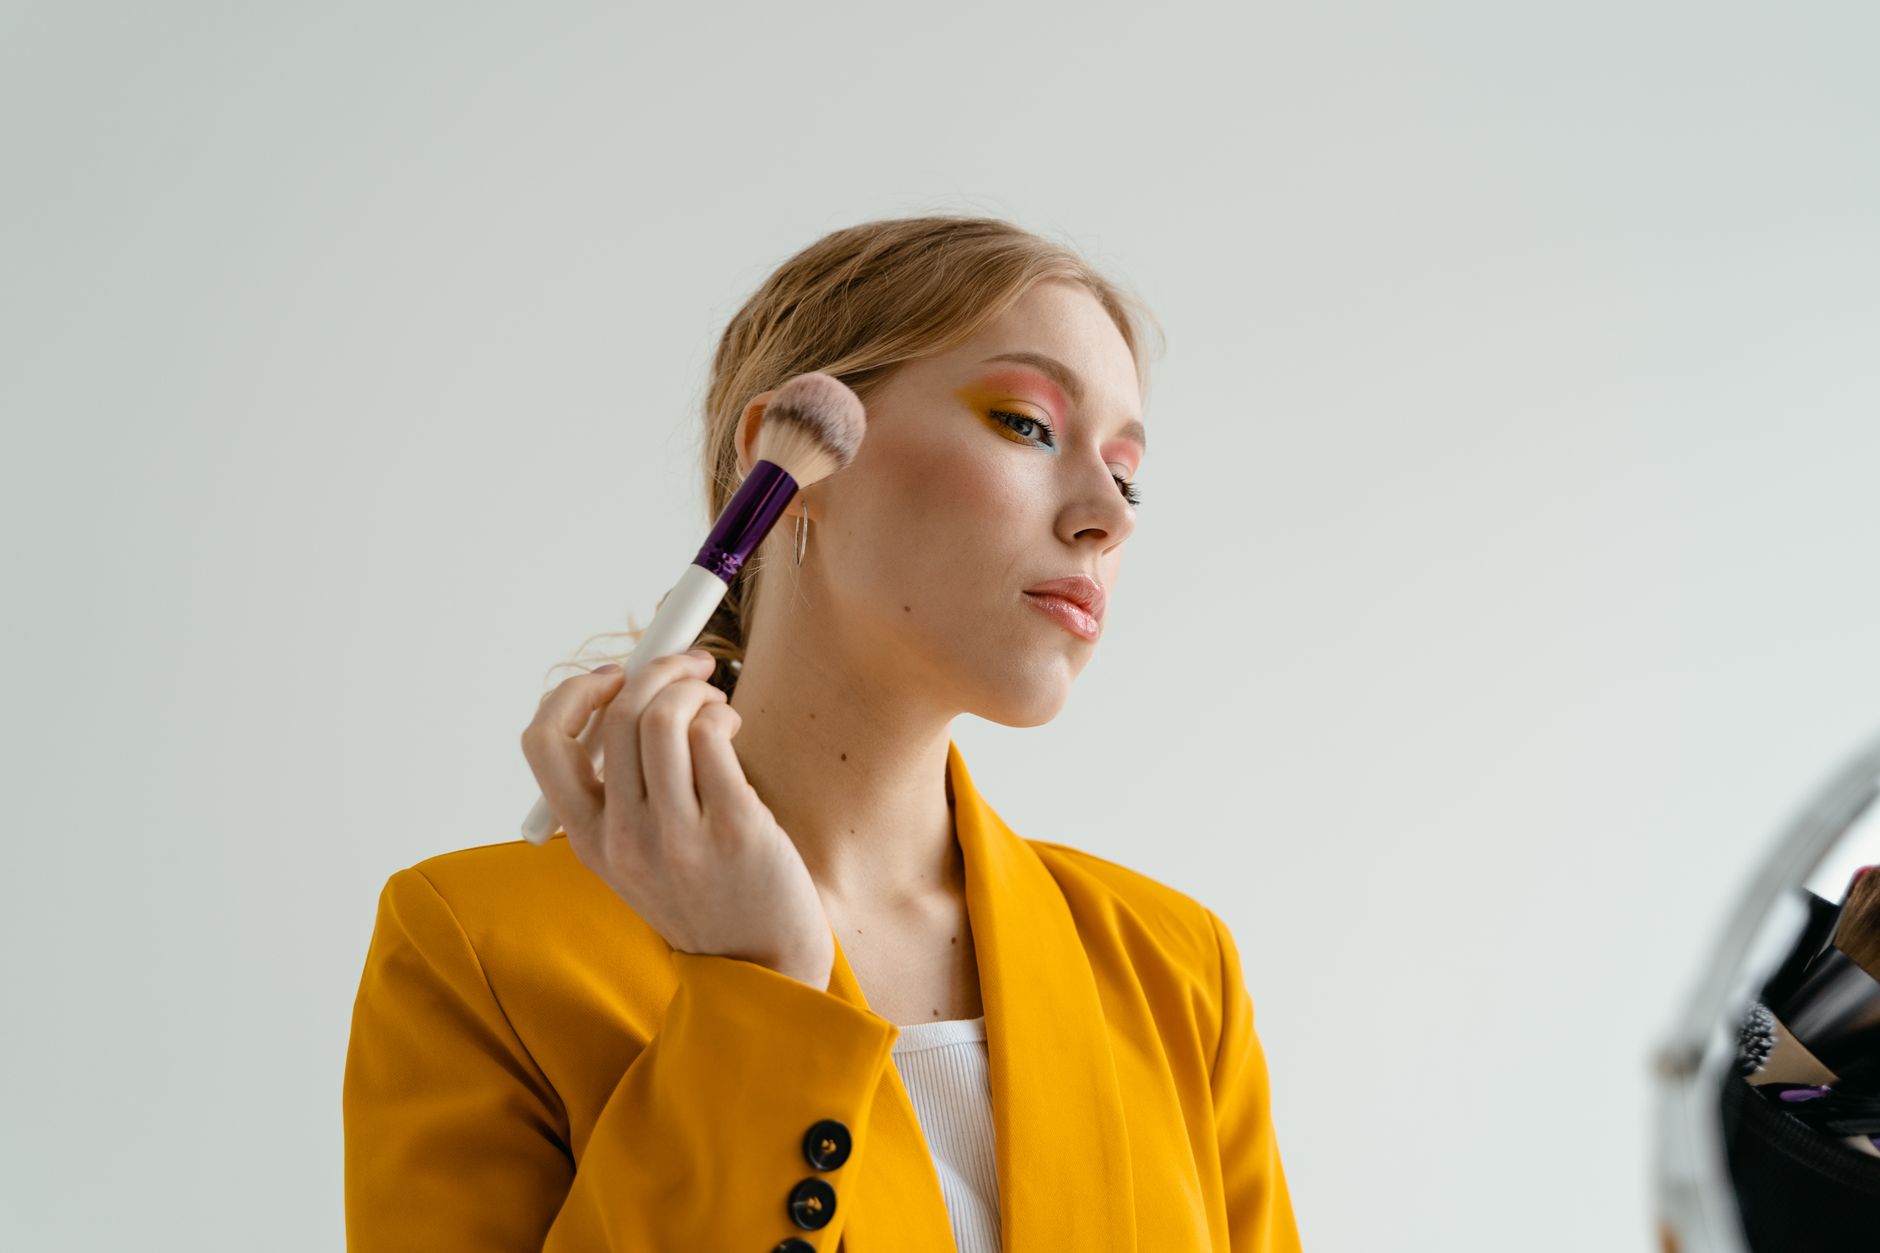
Application Steps by Tool
- **Using a Brush:** Dispense a small amount of foundation onto the back of your hand. Pick up product with your brush. Apply to your face using short, downward strokes or gentle buffing motions for a seamless, even finish
- **Using a Beauty Sponge:** Dampen your sponge thoroughly with water and squeeze out any excess. It should be soft and expanded. Dot foundation onto your face. Bounce the damp sponge over your skin in light, patting motio
- **Using Your Fingers:** Squeeze a small amount of foundation onto your fingertips. Gently warm the product by rubbing your fingertips together. Apply by patting and lightly blending the foundation onto your skin. The war
Customizing Foundation for Your Skin Type and Desired Look
Adjusting your foundation application method to suit your skin type and desired coverage ensures a comfortable wear and natural appearance. Specific techniques can address concerns like oiliness, dryness, or fine lines.
**For Oily Skin:** Opt for oil-free or matte foundations. Apply with a brush or sponge, focusing on pressing the product into the skin to enhance longevity. Finish with a light dusting of setting powder, especially in the T-zone, to control shine throughout the day.
**For Dry Skin:** Choose hydrating or dewy finish foundations. Fingers or a damp sponge can help melt the product into the skin, avoiding any caked-on appearance. Avoid excessive powder, and consider a hydrating setting spray to maintain a fresh look.
**For Mature Skin:** Select foundations with hydrating properties and a luminous or satin finish to avoid settling into fine lines. Apply sparingly with a damp sponge or fingers, using light, patting motions. Focus on evening out skin tone rather than heavy coverage, which can emphasize texture.
**For Sheer to Light Coverage:** Use a damp sponge or your fingers. Apply a minimal amount of product and blend outwards for a natural, skin-like finish that allows your natural skin to show through.
**For Medium to Full Coverage:** Use a foundation brush or a dry sponge. Build coverage in thin layers, allowing each layer to set slightly before adding more. This technique helps prevent a heavy or cakey appearance while achieving the desired opacity.
Comparison of Foundation Application Tools
| Tool | Best For | Typical Finish | Application Tip |
|---|---|---|---|
| Foundation Brush | Medium to full coverage, precise application | Smooth, polished | Apply in small, buffing or stippling motions for even coverage. |
| Beauty Sponge | Sheer to medium coverage, natural, dewy finish | Airbrushed, seamless | Dampen sponge before use. Bounce onto skin for a blended, natural look. |
| Fingers | Sheer to light coverage, natural, quick application | Skin-like, natural | Warm product slightly between fingers, then pat and blend onto skin. |
People also ask
Makeup FAQ
How can I prevent my foundation from looking cakey?
To prevent a cakey look, start with well-hydrated and primed skin. Apply foundation in thin layers, building coverage gradually rather than applying a large amount at once. Use a damp beauty sponge or brush to blend thoroughly, and use setting powder sparingly only where needed.
What is the best way to choose the right foundation shade?
The best way to choose your foundation shade is to test it on your jawline in natural light. The shade should disappear into your skin, matching both your face and neck. Consider your skin's undertone (cool, warm, or neutral) for a seamless match.
Should I apply foundation before or after concealer?
Generally, foundation is applied before concealer. This allows the foundation to even out your overall skin tone, reducing the amount of concealer needed. Apply concealer only to areas that require extra coverage after foundation has been blended.