Quick answer
Achieving clump-free mascara involves proper lash preparation, mastering application techniques, and selecting the right product. Wiping excess product from the wand, using a zig-zag motion from root to tip, and separating lashes afterward are key steps. Choosing a suitable mascara formula and brush type also significantly helps in preventing clumps.
Prepare Your Lashes for Flawless Mascara Application
Proper preparation is crucial for achieving a smooth, clump-free mascara application. Taking a few simple steps before applying product can significantly improve your lash definition.
Before reaching for your mascara, ensure your lashes are clean and dry. Any residual makeup or oil can interfere with the mascara's adhesion and lead to clumping. Gently cleanse your eye area if needed.
Using a lash curler can help open up your eyes and provide a better base for mascara. Curl your lashes at the base, middle, and tips for an even lift. This step also helps separate lashes, making them easier to coat individually without clumping.
A common cause of clumpy mascara is too much product on the wand. Before applying, gently wipe any excess mascara from the brush onto the rim of the tube or a tissue. This ensures you apply a thin, even layer rather than a heavy, clump-prone coat.
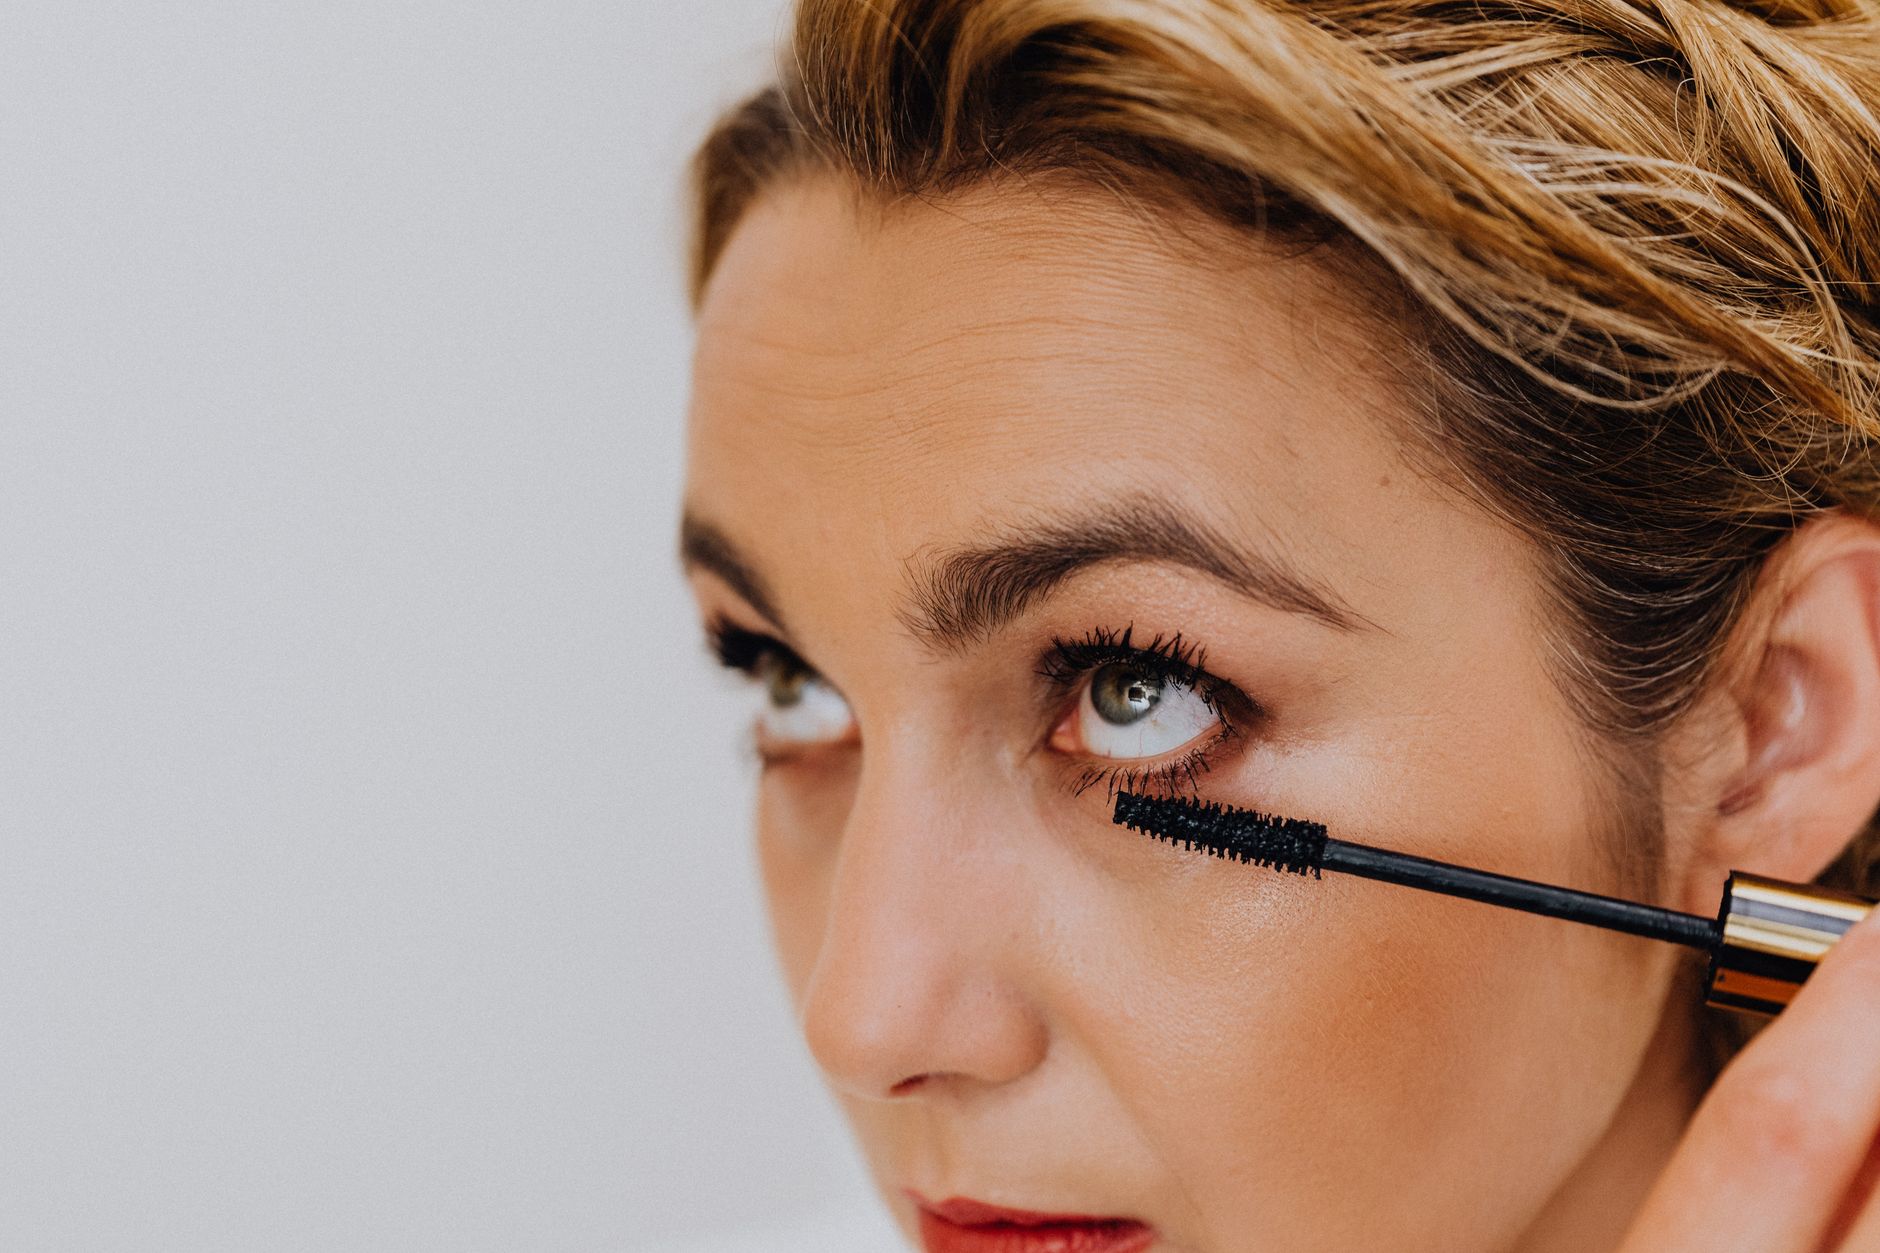
Mastering the Art of Clump-Free Mascara Application
The technique you use to apply mascara directly impacts lash separation and definition. Employing specific motions can help coat each lash evenly and prevent product buildup.
Start by placing the mascara wand at the base of your upper lashes. Instead of just swiping up, gently wiggle the wand horizontally from side to side as you pull it upwards. This zig-zag motion helps to coat each lash thoroughly from root to tip and separates them as you go.
For the bottom lashes, hold the wand vertically and use the tip to lightly coat each lash. This method provides more control and prevents smudging or applying too much product, which often leads to clumping on finer lower lashes. Apply only one or two light coats to avoid a heavy look.
If you desire more volume or length, apply additional coats while the first coat is still slightly wet. Applying subsequent coats to fully dry mascara can pull and clump the lashes together. For extra definition, use a clean spoolie or a lash comb to gently brush through your lashes immediately after application to separate any stuck-together strands.
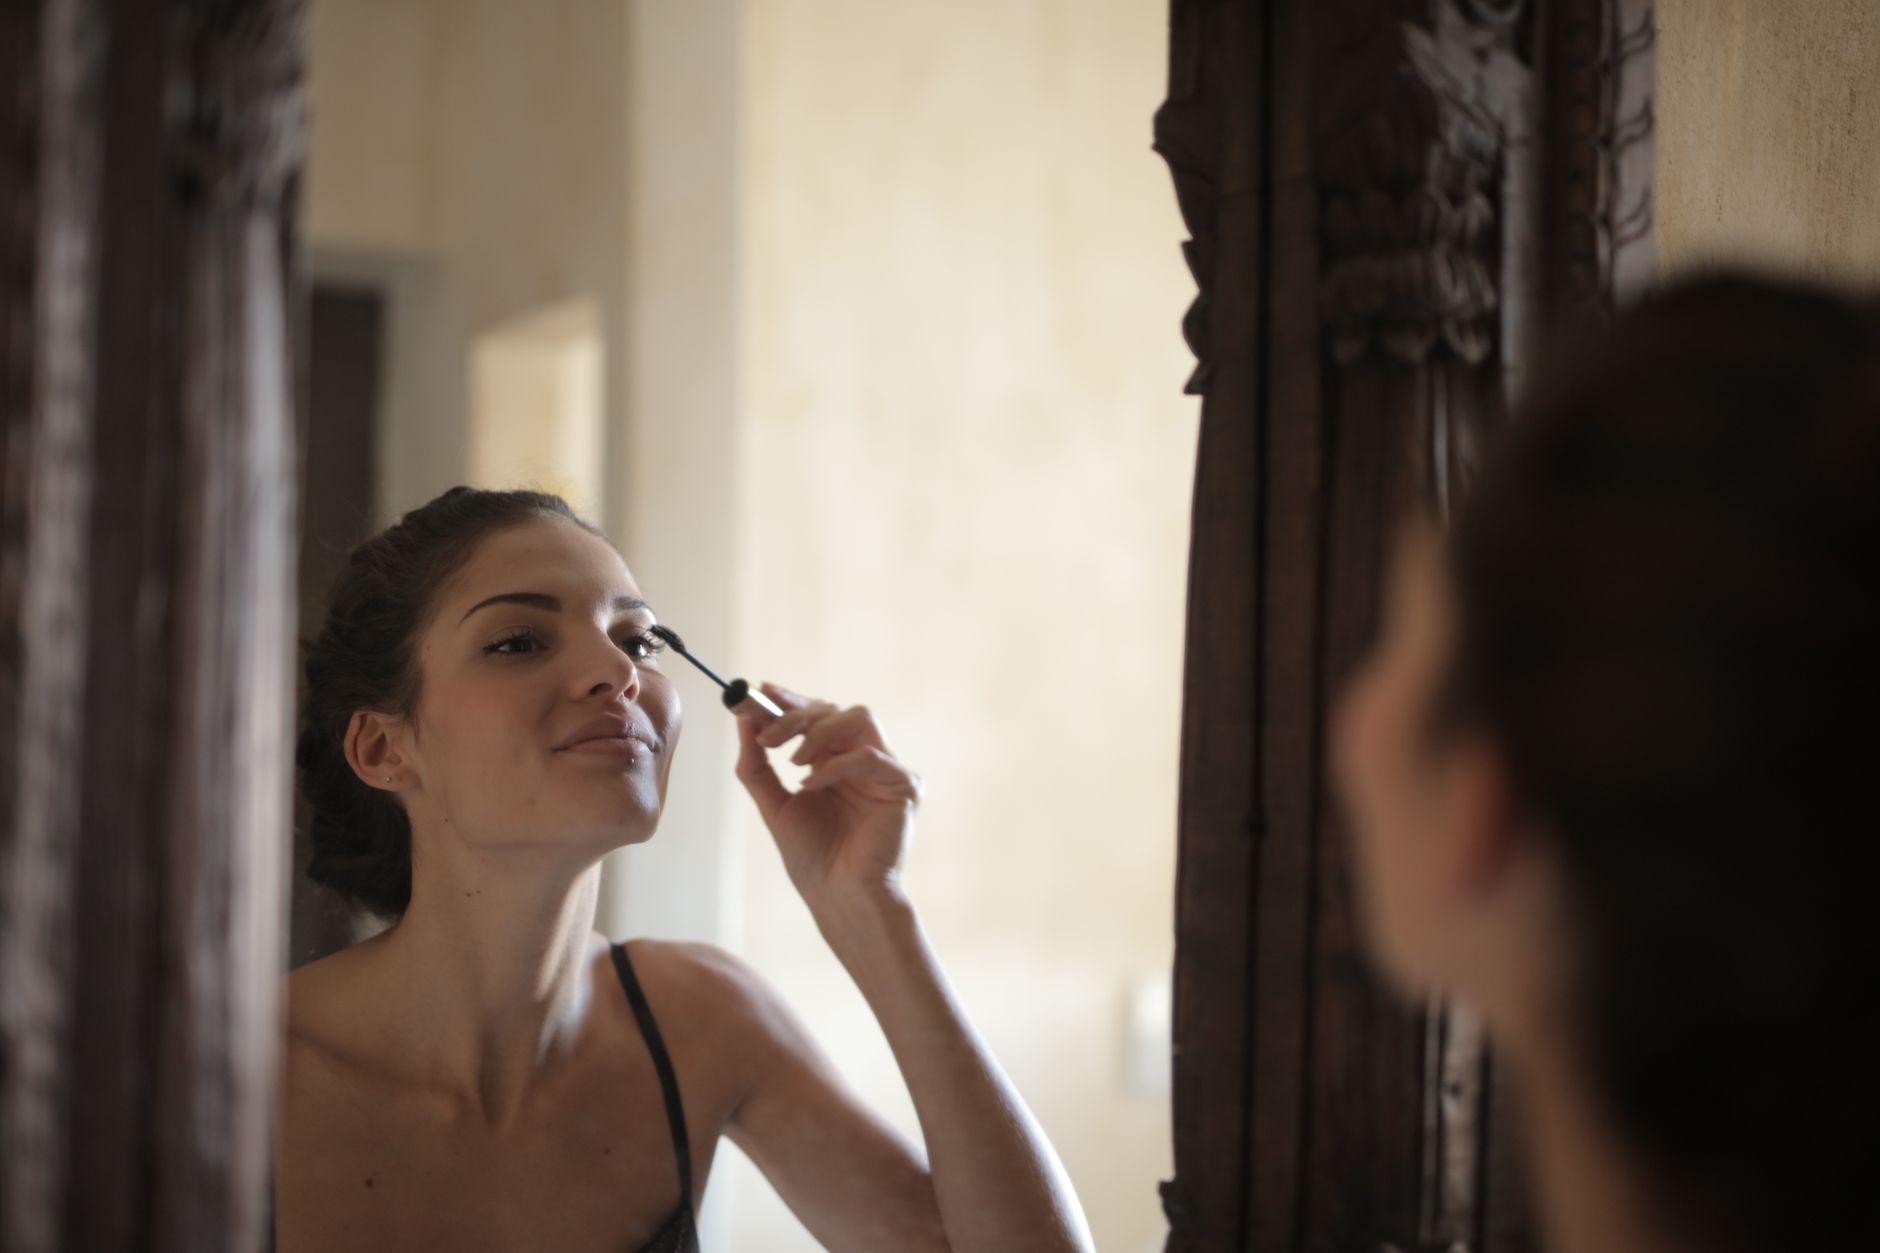
Step-by-Step for Clump-Free Mascara
- Ensure lashes are clean, dry, and curled.
- Wipe excess mascara from the wand.
- Place wand at lash base, wiggle horizontally, then pull upwards.
- Repeat for outer and inner lashes, focusing on even coverage.
- For lower lashes, hold wand vertically and use the tip lightly.
- Apply additional coats while previous layers are still slightly damp.
- Use a clean lash comb or spoolie to separate lashes if needed.
Selecting the Right Mascara and Troubleshooting Common Clumping Issues
Choosing the appropriate mascara formula and brush type is as important as your application technique for achieving clump-free results. Understanding product characteristics can help you make an informed decision.
Mascara formulas vary widely. For clump-free application, look for mascaras labeled as 'lengthening' or 'defining' rather than 'volumizing,' which often contain thicker formulas prone to clumping. Newer, drier formulas tend to be less clumpy than very wet ones. If your mascara feels too wet, leaving the tube open for a few minutes can help it dry slightly, making it easier to work with.
The brush type plays a significant role in how mascara is distributed. Brushes with evenly spaced, fine bristles are generally best for separating lashes. Refer to the table above for a guide on different brush types and their benefits for achieving a clump-free look.
If you experience persistent clumping even after following these tips, consider the age of your mascara. Old mascara can dry out and become clumpy. Replace your mascara every three to six months to ensure optimal performance and hygiene. If you experience persistent irritation or allergic reactions around your eyes, consult with a qualified professional for advice.
Mascara Brush Types and Their Benefits for Clump-Free Lashes
| Brush Type | Description | Benefit for Clump-Free Application |
|---|---|---|
| Classic Bristle | Dense, traditional bristles, often made of nylon. | Separates and coats each lash evenly, good for everyday use. |
| Comb | Fine, widely spaced plastic or metal teeth. | Precisely separates and defines lashes, excellent for preventing clumps. |
| Tapered/Cone | Wider at the base and narrow at the tip. | Reaches small inner lashes and corner lashes for full coverage without overload. |
| Curved | Designed to follow the natural curve of the lash line. | Lifts and curls lashes while distributing product smoothly for a fanned-out look. |
| Ball Tip | Small, spherical brush with bristles all around. | Targets individual lashes and hard-to-reach areas, useful for precise separation. |
People also ask
Makeup FAQ
How do I prevent mascara from clumping on my lower lashes?
For lower lashes, use less product. Wipe excess mascara from the wand, then hold the wand vertically and use just the tip to lightly coat each lash. Applying one thin coat is usually sufficient to avoid clumping.
Should I use a lash primer to avoid clumps?
A lash primer can help create a smoother base for mascara, potentially reducing clumps by separating and conditioning lashes before application. Ensure the primer is fully dry before applying mascara for best results.
When should I replace my mascara to avoid clumping?
Replace your mascara every three to six months. Older mascara can dry out and become thicker, making it more prone to clumping. Regular replacement also helps prevent bacterial growth and eye infections.