Quick answer
To apply blush effectively and enhance your features, consider your unique face shape, age, and the type of blush product you are using. Tailor your application technique to sculpt and brighten your complexion, aiming for a natural-looking flush that complements your individual structure and adds a healthy glow.
Choosing Your Blush Formula and Tool
Selecting the right blush formula and application tool is crucial for achieving your desired look, as different textures and brushes yield distinct finishes and impacts on your skin.
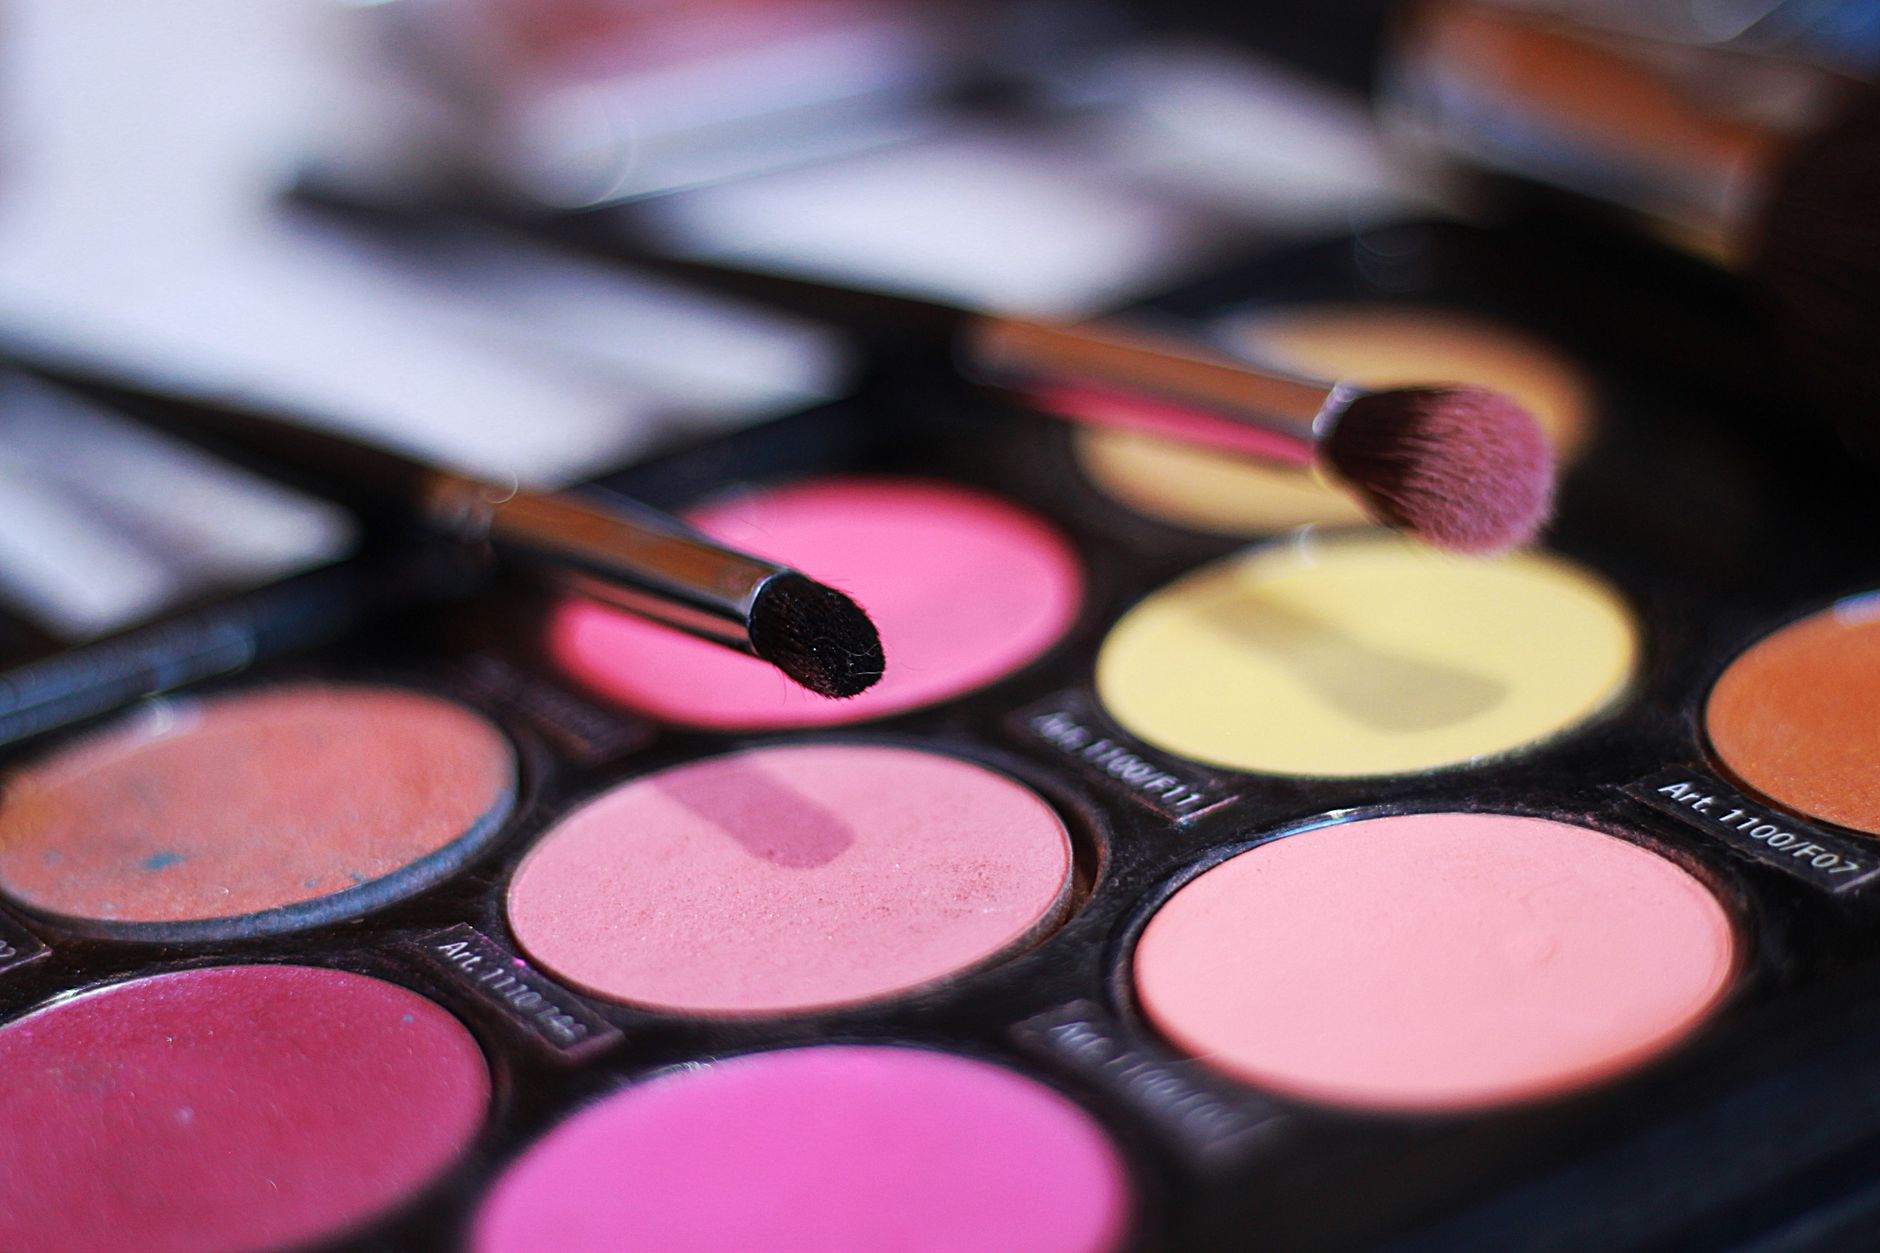
Blush comes in various forms, each offering a unique finish and application experience. Powder blushes are classic for their ease of blending and buildable coverage, often best applied with a fluffy brush. Cream blushes provide a dewy, natural finish and can be applied with fingertips or a dense brush, melting seamlessly into the skin. Liquid and gel blushes offer a sheer, long-lasting tint, ideal for a no-makeup makeup look, usually dabbed on with fingers or a beauty sponge.
The tool you choose also plays a significant role. For powder, a soft, angled brush can help sculpt, while a round, fluffy brush gives a diffused flush. Cream and liquid blushes often benefit from the warmth of your fingertips for a natural blend, or a stippling brush for more controlled placement. Experiment with different combinations to discover what works best for your chosen product and desired outcome.
Blush Formula Quick Guide
- Powder: Best for oilier skin, buildable, matte or satin finish. Use a fluffy brush.
- Cream: Ideal for dry to normal skin, dewy finish, natural blend. Use fingers or dense brush.
- Liquid/Gel: Sheer, long-lasting tint, good for all skin types. Use fingers or sponge.
Tailoring Blush to Your Face Shape
Applying blush strategically based on your face shape can enhance your natural contours and create a more balanced, flattering appearance.
Understanding your face shape is key to mastering blush application. The goal is to use blush to either soften angles, add definition, or create the illusion of width or length. For instance, if you have a round face, applying blush slightly higher on your cheekbones and blending upwards can help create a more lifted look. For a long face, applying blush more horizontally across the apples can add the appearance of width, balancing proportions. Refer to the table below for specific guidance.
Beyond the general guidelines, consider how your blush placement interacts with other makeup. If you contour, blush can soften the edges of your contour. If you highlight, blush can create a seamless transition between your highlight and the natural flush of your cheeks. Always blend well to avoid harsh lines and ensure a natural transition between colors on your face.
Blush for Different Ages and Skin Types
Adjusting your blush choice and application technique based on your age and skin type ensures a fresh, youthful, and comfortable wear.
As skin changes with age, so too can the ideal blush choice. For mature skin, cream or liquid blushes are often preferred as they tend to be less prone to settling into fine lines and offer a more hydrating, dewy finish that can appear more youthful. Powder blushes, if used, should be finely milled and applied sparingly. Focus on applying blush slightly higher on the cheekbones to create a lifted effect, avoiding placing it too low which can pull the face down.
Skin type also influences the best blush formula. Oily skin often benefits from powder blushes, which can help absorb excess oil and provide longer wear. Dry skin thrives with hydrating cream or liquid blushes that won't emphasize dryness or look patchy. Normal and combination skin types have more flexibility and can experiment with all formulas. Regardless of your skin type, always ensure your skin is well-prepped and moisturized before applying blush for the smoothest application and best long
If you experience persistent skin irritation, allergies, or have underlying skin conditions, consult a qualified professional for personalized advice.
Blush Application Techniques by Face Shape
| Face Shape | Application Focus | Technique Tip |
|---|---|---|
| Round | Temples and cheekbones | Sweep upwards from the apples towards the temples to add definition. |
| Oval | Apples of the cheeks | Apply directly to the apples and blend softly outwards towards the hairline. |
| Square | Apples and blend upwards | Focus on the apples of the cheeks and blend gently upwards towards the temples to soften angles. |
| Heart | Outer apples and cheekbones | Apply slightly below the apples and blend upwards towards the temples to balance the jawline. |
| Long/Oblong | Apples, blend horizontally | Apply to the apples and blend outwards towards the ears to create width. |
People also ask
Makeup FAQ
Where exactly should I apply blush?
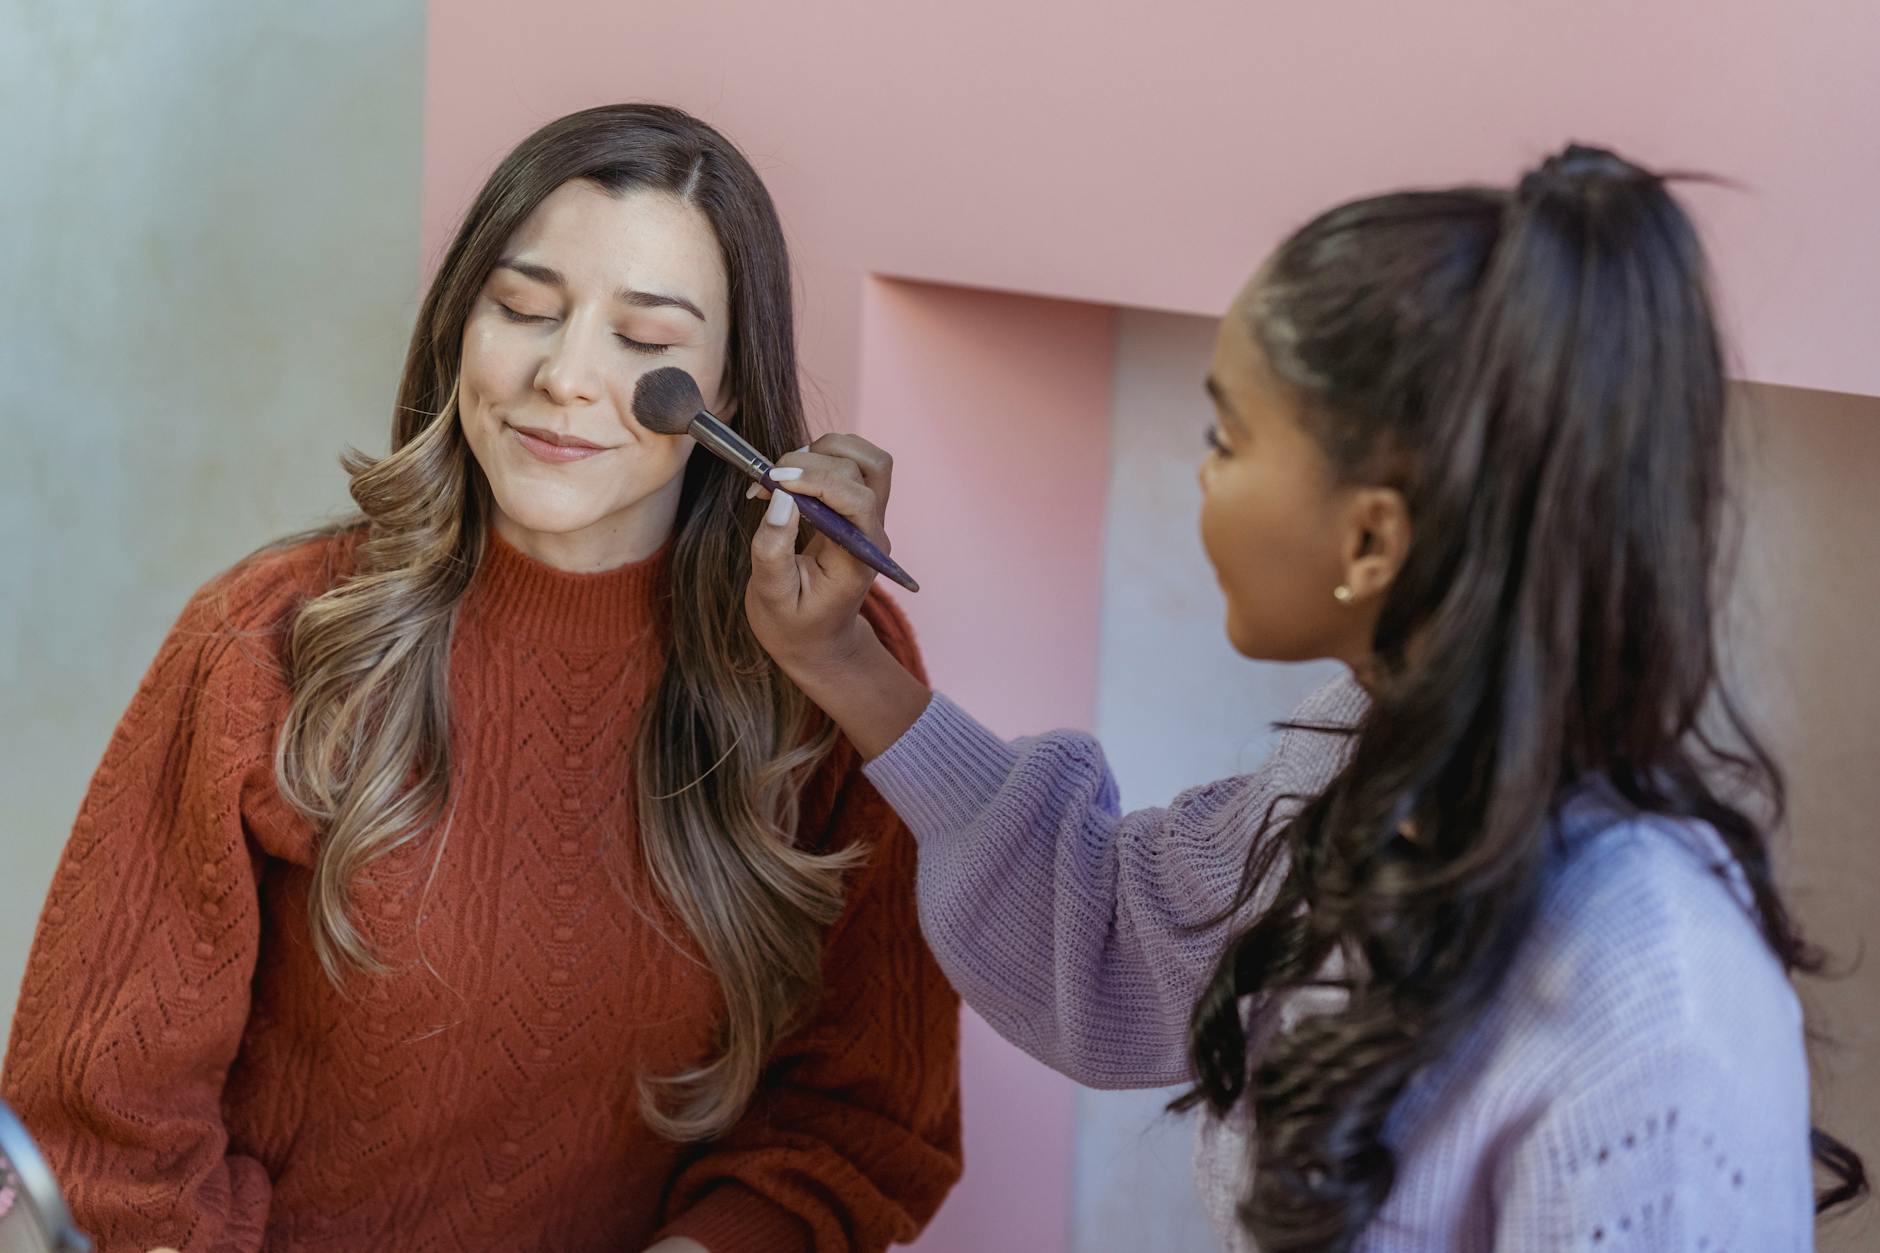
Apply blush to the apples of your cheeks, which are the fullest part when you smile, then blend upwards and outwards towards your temples, adapting the exact placement to your face shape for the most flattering effect.
How do I make my blush last longer?
To make blush last longer, start with a well-prepped and moisturized base, consider layering a cream blush under a powder blush, and finish with a setting spray to lock your makeup in place.
Can I use blush if I have acne-prone skin?
Yes, you can use blush on acne-prone skin. Opt for non-comedogenic formulas, preferably powders or lightweight liquids, and ensure your brushes are clean to avoid introducing bacteria. If irritation occurs, consult a dermatologist.